Sunrooms
The Sunroom Installation Process, Step by Step
October 20, 2026
A sunroom installation in Maryland moves through a predictable set of stages: a phone conversation, a one-hour site visit, a to-the-penny written proposal, permits and HOA review, the foundation or deck work, the roof tie-in, the enclosure itself, electrical and heating and cooling coordination, inspections, and a final walkthrough with warranty registration. At Custom Design & Build, our own crews handle every one of those stages, so one company is responsible for the room from the footings to the last piece of trim. This guide walks through each step in order, explains what happens and why, and tells you what to have ready so the project runs smoothly.
If you are looking for a sunroom installer anywhere from Baltimore to Harford County, start by understanding what a complete installation includes. A sunroom is a small building attached to your house, and the result depends on how well each stage is handled.
Step 1: The phone conversation and a price bracket
Every project with us starts with a free phone call. We ask what you want to use the room for, roughly how big you are thinking, what is there now (a patio, a deck, a screened porch, or bare lawn), and whether you want a space for three seasons or for year-round use.
By the end of that first call, we give you a price bracket. We do this because most homeowners do not know whether a sunroom will cost $15,000 or $100,000, and it is not fair to ask you to schedule a visit without a realistic sense of the investment. For reference, here are typical ranges from our pricing calculator for a complete sunroom addition with roof and walls:
| Size | Model 200 WeatherMaster | Model 300 glass | Model 400 four-season |
|---|---|---|---|
| 12x12 (144 sf) | $38,000 to $50,000 | $42,000 to $55,000 | $75,000 to $90,000 |
| 12x14 (168 sf) | $40,000 to $55,000 | $45,000 to $60,000 | $80,000 to $95,000 |
| 14x16 (224 sf) | $52,000 to $65,000 | $55,000 to $68,000 | $90,000 to $105,000 |
| 16x20 (320 sf) | $65,000 to $80,000 | $68,000 to $85,000 | $100,000 to $120,000 |
A Model 100 screen room runs a typical range of $12,000 to $20,000 at 12x12 up to $22,000 to $35,000 at 16x20. You can explore sizes and models yourself with our sunroom pricing calculator, and our Maryland sunroom cost guide explains what moves a project up or down within those ranges. The final number always comes in the written proposal.
What to prepare: A rough idea of size, how you plan to use the room, and any photos of the area you can text or email. If you live in an HOA or a Columbia village, mention it on this call.
Step 2: The one-hour site visit
If the price bracket fits, we schedule a visit at your home. Plan on about an hour. We bring samples and color options so you can see and handle the actual frame finishes, window types, and roof panels instead of choosing from a brochure.
During the visit we measure, look at where the room will meet the house, and evaluate what the room will sit on. We check the wall where the roof will attach, existing windows and doors, gutters, the slope of the yard, and access for crews. If you have an existing deck or porch, we look at its structure closely, because that determines whether it can carry an enclosed room.
This is also where the model decision usually gets settled. We will talk honestly about the difference between a Model 200 WeatherMaster with vinyl windows, a Model 300 glass three-season room, and an insulated Model 400 four-season room. A three-season room is not comfortable in deep winter without heat, and vinyl is not glass. Our comparison of sunrooms, three-season rooms, and screen rooms is a good read before the visit.
What to prepare: Have your property survey or plat if you can find it, any HOA guidelines, and a list of questions. Decision makers in the household should be there if possible, because color and window choices are easier in person.
Step 3: The to-the-penny proposal
After the visit, we send a written proposal with a final number for the full scope. We call it to-the-penny because it is not an estimate that grows once work starts. It covers the foundation or deck work, the room itself, the roof and its tie-in to the house, permits, the electrical coordination we are responsible for, and finish work.
Read the proposal closely. A good sunroom proposal should tell you exactly what the room sits on, what model and options are included, who handles permits, and what warranty applies. If something you discussed is not on paper, ask about it before you sign. If you are planning to finance, approval through our financing options is often available in minutes, with terms up to 15 years and 0 percent options for qualified buyers.
What to prepare: Compare the proposal against your notes from the site visit. Confirm the size, model, colors, door location, and roof type.
Step 4: Permits and HOA review
Every sunroom we build is permitted and inspected. We pull the permit, prepare the paperwork, and meet the inspector. When your community has an HOA or architectural review board, we handle that submission as well.
Each county runs its own process. In Harford County we prepare plans, submit, schedule inspections, and close the permit at final. Baltimore County requires permits for sunrooms and screen rooms, and its permit process is stricter than Harford's, with HOA design review common in communities like Perry Hall, Honeygo, and Stoneleigh. Anne Arundel County works through the Department of Inspections and Permits, and homes within 1,000 feet of the Chesapeake Bay or its tidal tributaries fall within the Critical Area, where buffer restrictions can rule out new structures close to the water. In Howard County, Columbia Association architectural review in most Columbia villages runs alongside the county permit. Cecil County permits go through the Department of Land Use and Development Services, with extra review for waterfront and Critical Area projects.
Permits and HOA review are often the least predictable part of the schedule. We cannot control how quickly a county reviewer or an architectural committee responds, but we can make sure the submission is complete the first time, which avoids the most common delays.
What to prepare: Sign any HOA forms we send promptly, and let us know about easements, septic fields, or anything else on your property that might matter for placement.
Step 5: What the room sits on
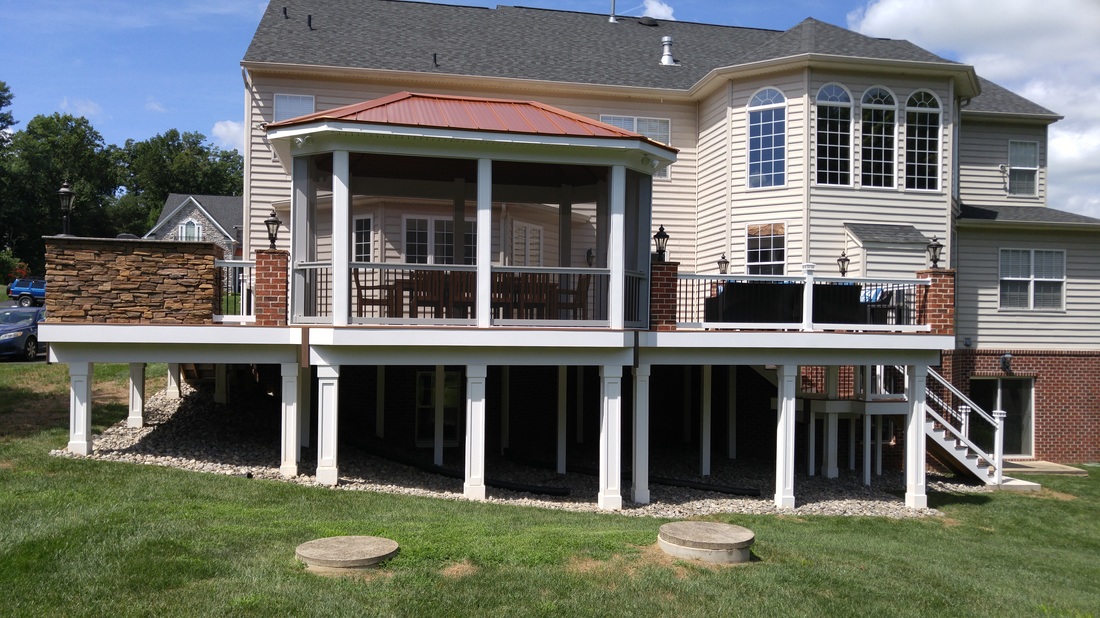
The base under a sunroom matters as much as the room. A Sunspace room is modular and custom-built, and it can install onto an existing deck, a patio, or under an existing roof. Which option fits your home depends on what is there now and its condition.
New slab or footings
When there is no suitable base, we build one. That usually means a concrete slab or footings set below the frost line so the ground cannot heave the structure during Maryland's freeze and thaw cycles. In Howard County, for example, attached decks need frost protection 30 inches deep.
Existing patio
A patio can sometimes carry a sunroom, but only if it is level enough, in sound condition, and able to support the concentrated loads at the room's posts and walls. Cracked or settled patios, or pavers laid on a thin base, often need work before a room goes on top.
Existing deck
Building on an existing deck is common, and it can save money, but an enclosed room loads a deck very differently than people and patio furniture do. We evaluate the footings, posts, beams, joists, and the ledger attachment to the house. Our article on whether your deck can support a sunroom covers what we look for and what happens when a deck is not up to the job.
Step 6: The roof tie-in and flashing
Where the new roof meets your house is the most important connection in the whole project. The roof has to attach to the structure securely, and water running down your house wall or off your existing roof has to be directed over the new roof instead of behind it.
That is the job of flashing: metal pieces layered so that water always flows outward and down. Done correctly, the tie-in stays dry for decades. Done poorly, it is where most sunroom leaks begin. We also plan gutters and downspouts so the new roof does not dump water onto a walkway or against the foundation. Our guide to sunroom roof options and how the tie-in works goes deeper on this stage.
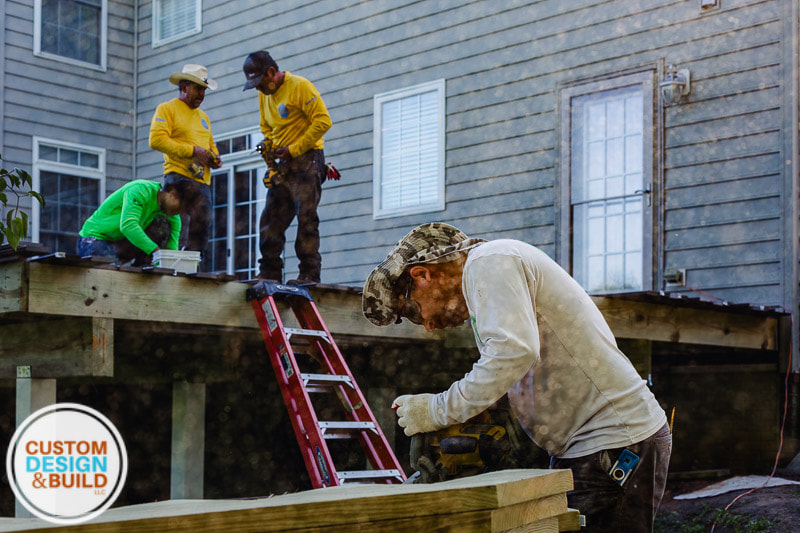
Step 7: Enclosure installation by our own crews
Once the base and roof structure are ready, the walls go up: the frame, the windows or glass panels, the doors, and the kick panels at the base. Because Sunspace rooms are modular, much of this stage is precise assembly of components built for your specific dimensions.
Walls need to be plumb and square so windows slide properly and doors seal. Small errors here show up later as sticking windows, drafts, or water intrusion.
A contractor who builds the whole room versus a dealer who subcontracts
Some sunroom sellers are dealers who sell the product and then hand the installation to a subcontractor, and sometimes the foundation, the roof tie-in, and the electrical go to different subcontractors again. When that happens, nobody owns the whole result. If a leak shows up where the roof meets the house, the installer can blame the roofer and the roofer can blame the foundation.
We are an authorized Sunspace dealer and also the builder. Our own crews install every room, and we do not subcontract installs. One company is responsible for the footing or slab, the structure, the roof tie-in, the enclosure, the electrical coordination, and the finish work. Our article on how to spot professional sunroom work explains the details that separate a well-built room from one that will cause problems.
What to prepare: Clear the work area of furniture, grills, and planters. Keep pets and children away from the site while crews are working, and plan for normal construction noise during the day.
Step 8: Electrical and separate heating and cooling
Most sunrooms need outlets, lighting, and often a ceiling fan. A solid insulated roof supports fans and lights, which is one reason many homeowners choose it. We coordinate the electrical work as part of the project.
If you plan to heat or cool the room, it runs on its own system, such as a ductless mini-split. We do not tie sunrooms into the home's existing HVAC. A sunroom has very different heating and cooling needs from the rest of the house, and a separate system lets you condition it only when you are using it. This matters most for a four-season insulated sunroom, which is built for year-round use with thermal walls, Low-E argon glass, and thermal breaks in the frame.
What to prepare: Decide where you want outlets, switches, lights, and a fan before the electrical work begins. Changes are easy on paper and harder once walls are closed.
Step 9: Inspections
The county inspector visits at the points the permit requires, which commonly includes footings or foundation, framing, electrical, and a final inspection. We schedule the inspections and meet the inspector. Inspections protect you: they confirm the room was built to code, and a closed permit matters when you sell the house.
Step 10: Final walkthrough and warranty registration
When the room is complete and the permit is closed, we walk through it with you. We operate every window and door, check the seals and the finish work, and show you how to care for the room. Vinyl windows, for example, should be cleaned gently, without harsh cleaners, detergents, or bleach, to keep the manufacturer's warranty in force.
We register your Sunspace manufacturer warranties for you. Sunspace provides a limited lifetime warranty to the original purchaser that covers items such as laminations and finishes, glass breakage, vinyl extruded components, hardware and screen units, with 15 years on insulating glass units and 10 years on vinyl glazed windows. On top of that, our own 2-year workmanship warranty covers our installation, with at-cost support after that. Our article on understanding your warranty explains how the two fit together.
What to prepare: Bring any punch list items you have noticed, and keep the warranty paperwork somewhere you can find it.
How to work with us
Our process is the same three steps for every sunroom:
- A free phone conversation. We learn what you want and give you a price bracket on the first call.
- A one-hour site visit. We measure, evaluate what the room will sit on, and bring samples and colors.
- A to-the-penny written proposal. A final number for the full scope, with no surprises later.
With more than 30 years building outdoor living spaces in Maryland, an MHIC license (#91686), and a 4.9 star Google rating across 101 reviews, we are glad to answer questions even if you are early in your planning. Call us at 443-616-1459 or start a conversation online. Let's talk about your outdoor space.
Frequently asked questions
What is included in a sunroom installation?
A complete sunroom installation includes the foundation or deck work the room sits on, the roof and its tie-in to the house with flashing, the walls, windows, and doors, electrical coordination, permits and inspections, and finish work. With us, our own crews handle all of it and one company is responsible for the whole room.
Do I need a permit for a sunroom in Maryland?
Yes. Every sunroom we build is permitted and inspected. We pull the permit, prepare the paperwork, meet the inspector, and handle HOA or architectural review when your community requires it.
Can a sunroom be installed on my existing deck or patio?
Often, yes. Sunspace rooms can install onto an existing deck, a patio, or under an existing roof. The base has to be structurally sound and able to carry an enclosed room, so we evaluate it during the site visit and tell you whether it needs reinforcement or replacement.
Will my sunroom connect to my home's heating and air conditioning?
No. Our sunrooms run on their own heating and cooling, such as a ductless mini-split, and we coordinate the electrical for it. We do not tie sunrooms into the home's existing HVAC.
What is the least predictable part of a sunroom schedule?
Permits and HOA review are often the least predictable part of the schedule, because review times depend on the county and on the association. We submit complete paperwork the first time to avoid avoidable delays.
What warranty comes with a sunroom installation?
We provide a 2-year workmanship warranty with at-cost support after that, and we register your Sunspace manufacturer warranties for you. Sunspace offers a limited lifetime warranty to the original purchaser on many components, with 15 years on insulating glass units and 10 years on vinyl glazed windows.